Logo
latest

AI Autonomous Robot

  • Installation
    • Summary
    • ※ Assembly Process
    • JupterLab Access & Run examples
  • Hardware
    • Critical Parts
    • SBC(Single Board Computer)
    • Block Diagram
    • Option: 6-axis robot arm
  • Software
    • ROS
    • NVIDIA Inference
    • JupyterLab

Mini Autonomous Robot

  • Installation
    • Summary
    • ※ Jetson Nano ver.
    • ※ Raspberry Pi ver.
    • JupterLab Access & Run examples
  • Hardware
    • Critical Parts
    • SBC(Jetson Nano)
    • SBC(Raspberry PI 4B)
    • Block Diagram
  • Software
    • ROS 1 (Jetson Nano)
    • ROS 2 (Raspberry)
    • Docker
    • JupyterLab
    • CES2023

Lets Try It Out!!!

  • Communication
    • ROS Topic Publisher
    • ROS Topic Subscriber
    • ROS Command Example
    • ROS Service Server
    • ROS Service Client
    • ROS Action Server
    • ROS Action Client
  • Robot Sensors
    • IMU
    • Sonar
    • Camera
    • LIDAR
  • Multi-Media
    • Speaker
    • Joystick Vibration
  • Convergence Problems
    • Processing Delay Publisher
    • Processing Delay Subscriber
    • Time Slot Publisher
    • Time Slot Subscriber

AI Training Content

  • Robot Artificial Intelligence
    • Blue Color Detection
    • Color Detection
  • AI training examples
    • Detecting Objects within an Image
      • Detecting Oranges - googlenet
      • Detecting Oranges - alexnet
      • Network
    • Detecting Objects within a Video
      • Detecting Cars
      • Detecting Pedestrians
      • Detecting Dogs
      • Network
    • Detecting Objects with Camera
      • Object Detection
      • Facial Detection
      • Detecting Dogs
      • Network
    • Object Segmentation with Camera
      • Object Segmentation
      • Network
    • Depth Estimation with Camera
      • Depth Estimation
      • Network
    • Pose Recogntition with Camera
      • Hand Gesture Recognition
      • Network
    • Write ‘10 lines’ example code
  • Training with AI inference examples
    • Try it out
      • Image Recognition
        • Launching the Program
        • Examples through Jupyter Notebook
      • Object Detection
        • Launching the Program
        • Examples through Jupyter Notebook
      • Object Detection
        • Launching the Program
        • Examples through Jupyter Notebook
      • Pose Estimation with PoseNet
        • Launching the Program
        • Examples through Jupyter Notebook
      • Monocular Depth with DepthNet
        • Launching the Program
        • Examples through Jupyter Notebook
    • Model Explanation
    • Project Code Structure
    • Mission

Training with AI

  • AI Image Recognition using GoogleNet
    • Follow Along!
    • Overall Explanation
      • Overview
      • GoogleNet
    • Coding Explanation
    • Mission
  • AI Image Recognition using AlexNet
    • Follow Along!
    • Overall Explanation
      • Overview
      • AlexNet
      • How are GoogleNet and AlexNet?
    • Coding Explanation
    • Mission
  • Image Recognition using Camera
    • Writing Python Program as a Team
  • Body Pose Estimation with Pose-ResNet18-Body
    • Follow Along!
    • Overall Explanation
      • Overview
      • Pose-ResNet18-Body
        • Residual Blocks
    • Coding Explanation
      • Major Functionalities
      • Minor Functionalities
    • Mission
      • Writing Custom poseNet Program
      • Executing the Custom Program
      • Let’s Change the Overlay!!!

Lets Have a Lot of Fun!!!

  • Robot Arm
    • Moving the Robot Arm
    • Read Servo Motor Angle
    • Controlling Servo Motors
    • Dancing with the Robot Arm
    • Robot Arm teaching
    • Tracking Objects with the Robotic Arm
    • Tracking a Face with the Robotic Arm
    • Gripper Control
    • Robot Dance - 1
    • Robot Dance - 1
  • Fun Trials
    • Dancing Robot
    • Catching Robot

Lets Do it as a Team!!!

  • Basic Concept & Terminology
    • Mapping & SLAM
      • What is mapping?
      • What is SLAM?
    • Localization & AMCL
      • What is Localization?
      • AMCL(Adaptive Monte Carlo Localization)
    • Path Planning
      • Global Cost map & Planner
        • Global Cost map & Global Planner
      • Local Cost map
        • What is Local Cost map?
        • Obstacle Layer
        • Inflation layer
      • Local Planner
        • What is Local Planner?
        • DWA Local Planner
        • Robot Configuration Parameters
        • Goal Tolerance Parameters
        • Forward Simulation Parameters
        • Trajectory Scoring Parameters
  • Navigation setting for Zetabot
    • Mapping In-Action
    • Navigation In-Action
  • Control Parameter
    • 1. Modification of parameters by direct navigation into the folder
    • 2. Entering parameter values in real time on the GUI
      • Control Parameter
      • Inflation Layer
      • Cost_scaling_factor
  • Driving the Robot
    • Driving the Robot
    • Driving the Robot (Odometry)
  • Global / Local Coastmap

Documentation

  • NVIDIA TAO Toolkit
    • General Purpose Model Architecture
    • NVIDIA Optimized Pre-trained models
    • User Defined ONNX model
    • Term Explanation
    • TAO Toolkit Pre-Requisite Installation Guide
      • TAO CLI Pre-Requisite Installation Guide
    • TAO Launcher Methods
      • TAO launcher
        • Introductory Explanation
        • Launching TAO toolkit
    • TAO Run Example (Detectnet_v2)
      • Detectnet_v2 (NVIDIA example)
        • Pre-Requisites
    • TAO Run Example (YOLO_4_Tiny)
      • YOLO_4_Tiny
    • TAO Run Example (Tensor Visualization)
      • TensorBoard Visualization
Zetabot
  • Navigation setting for Zetabot
  • Edit on GitHub

Navigation setting for Zetabot

Mapping In-Action

A description of the mapping.

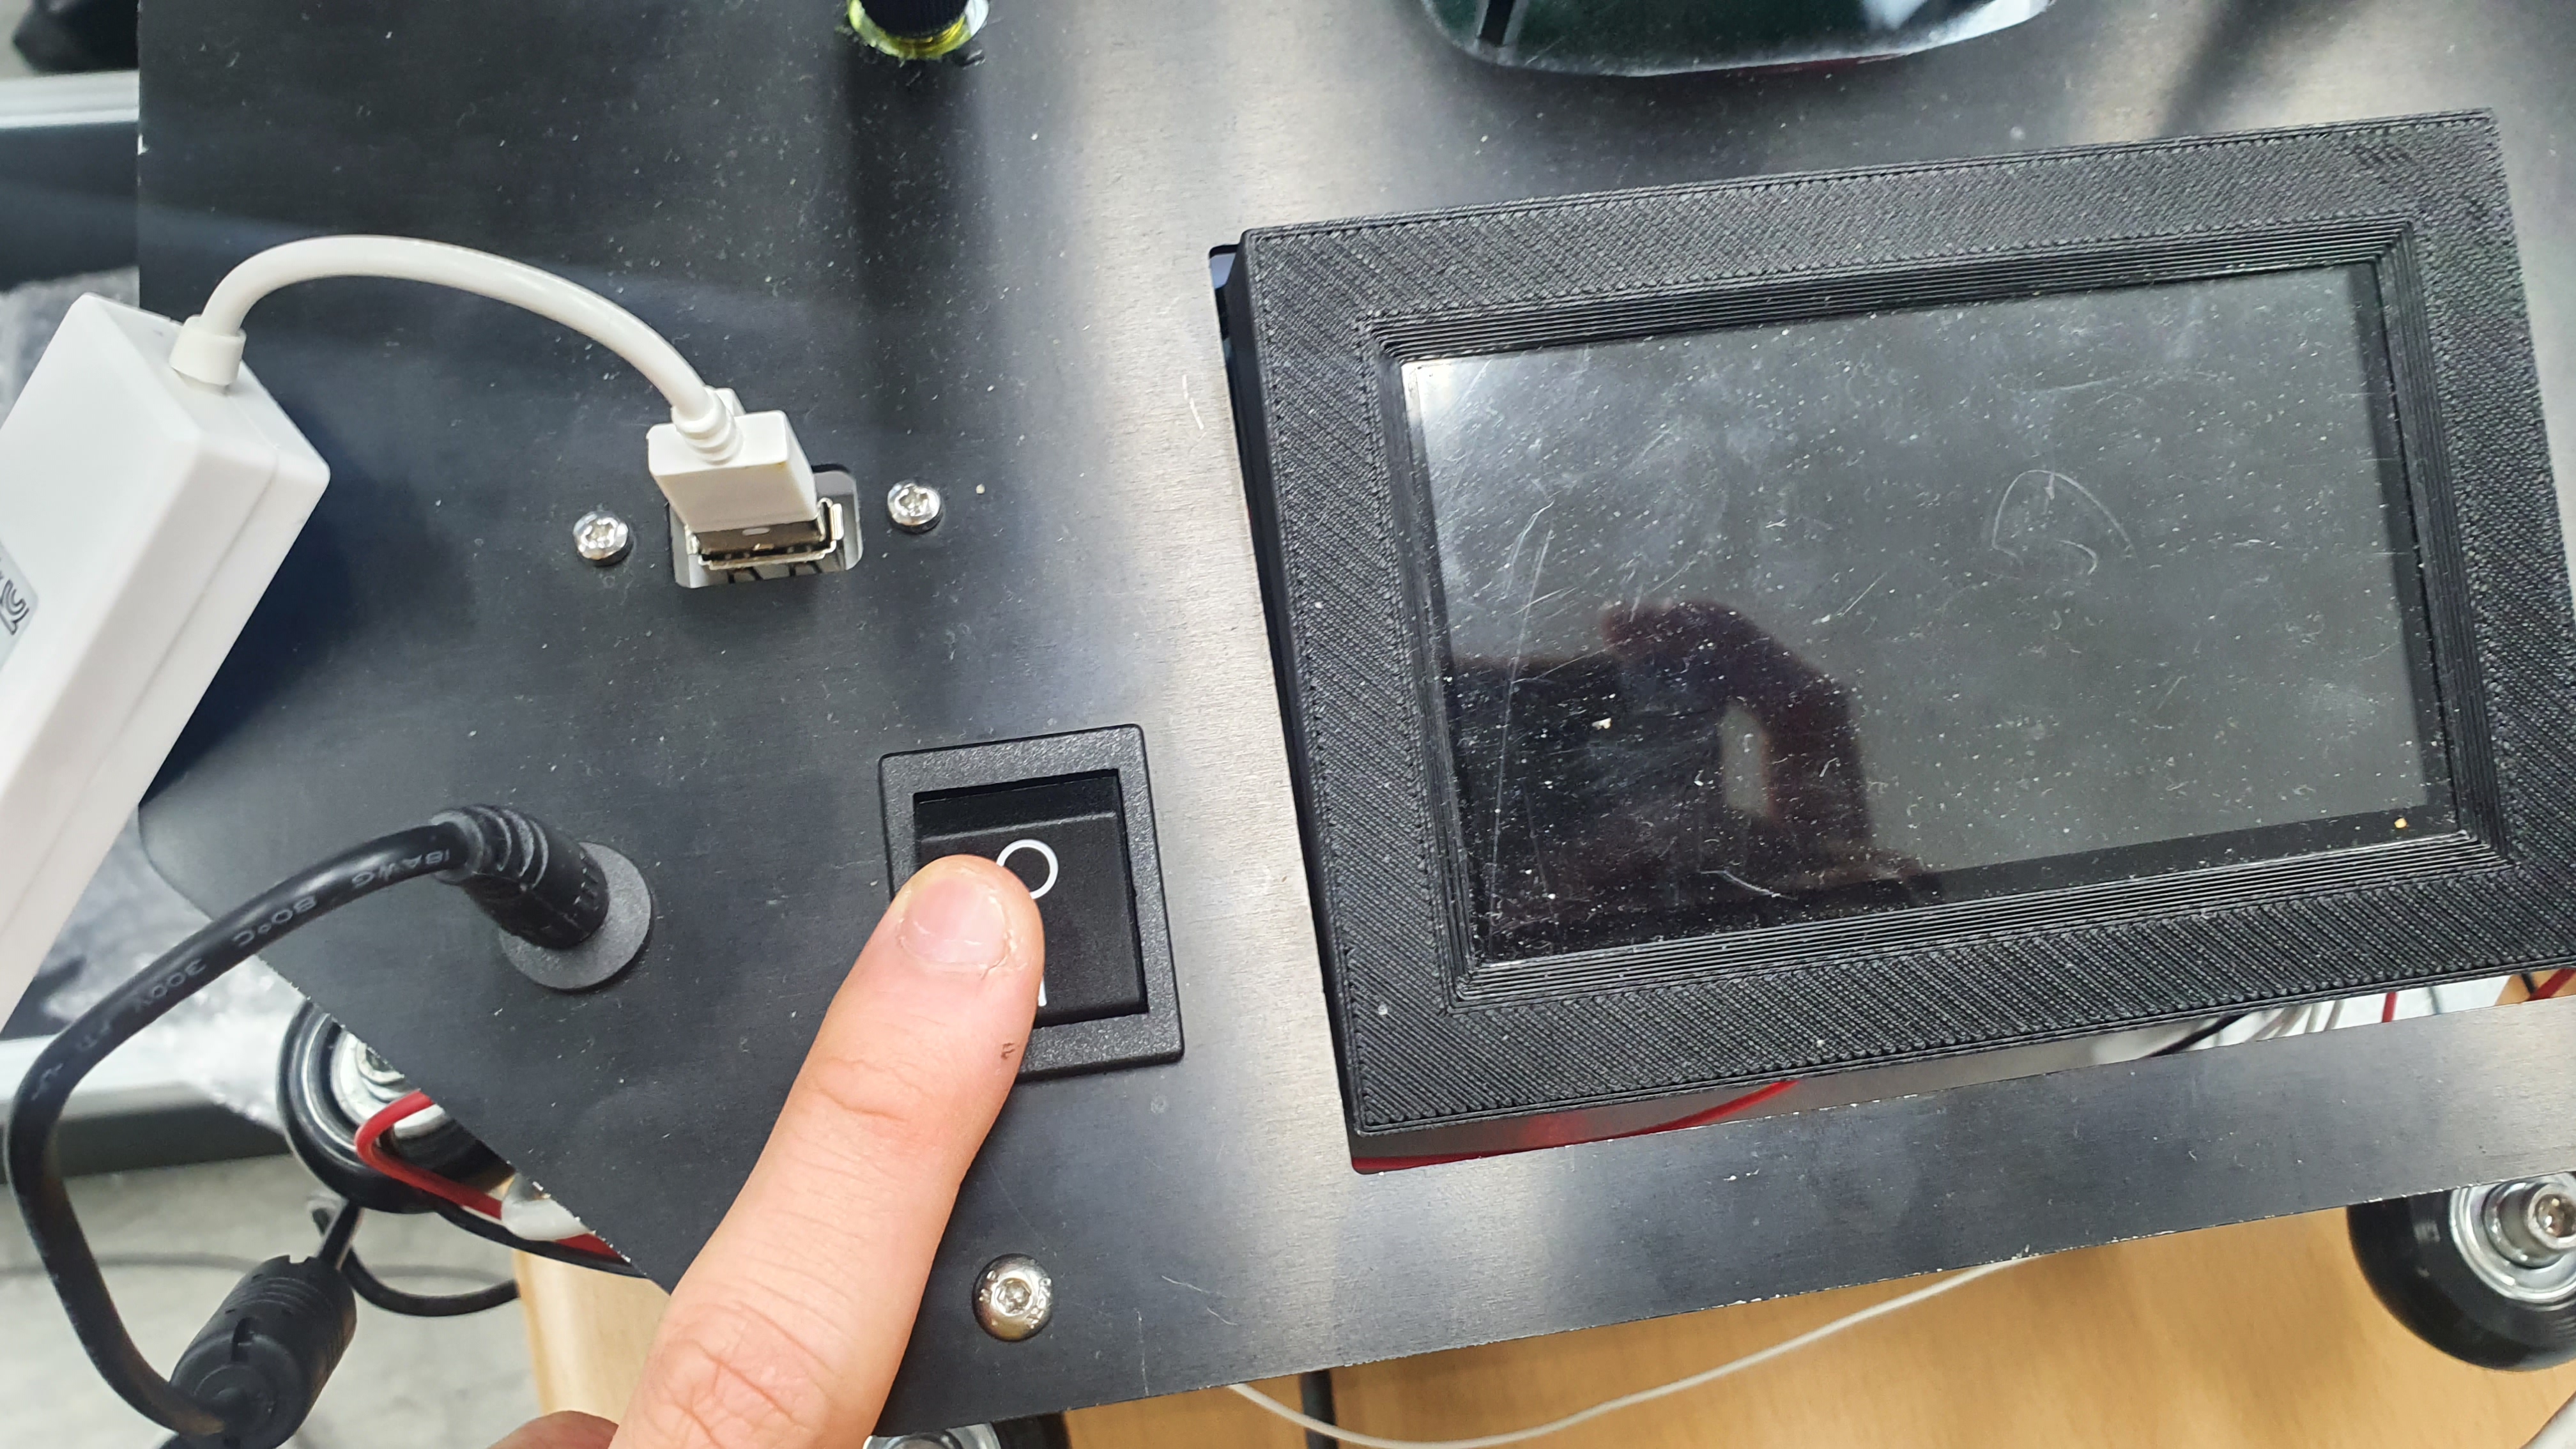
  1. Turn on the Zeta-Bot’s power switch.

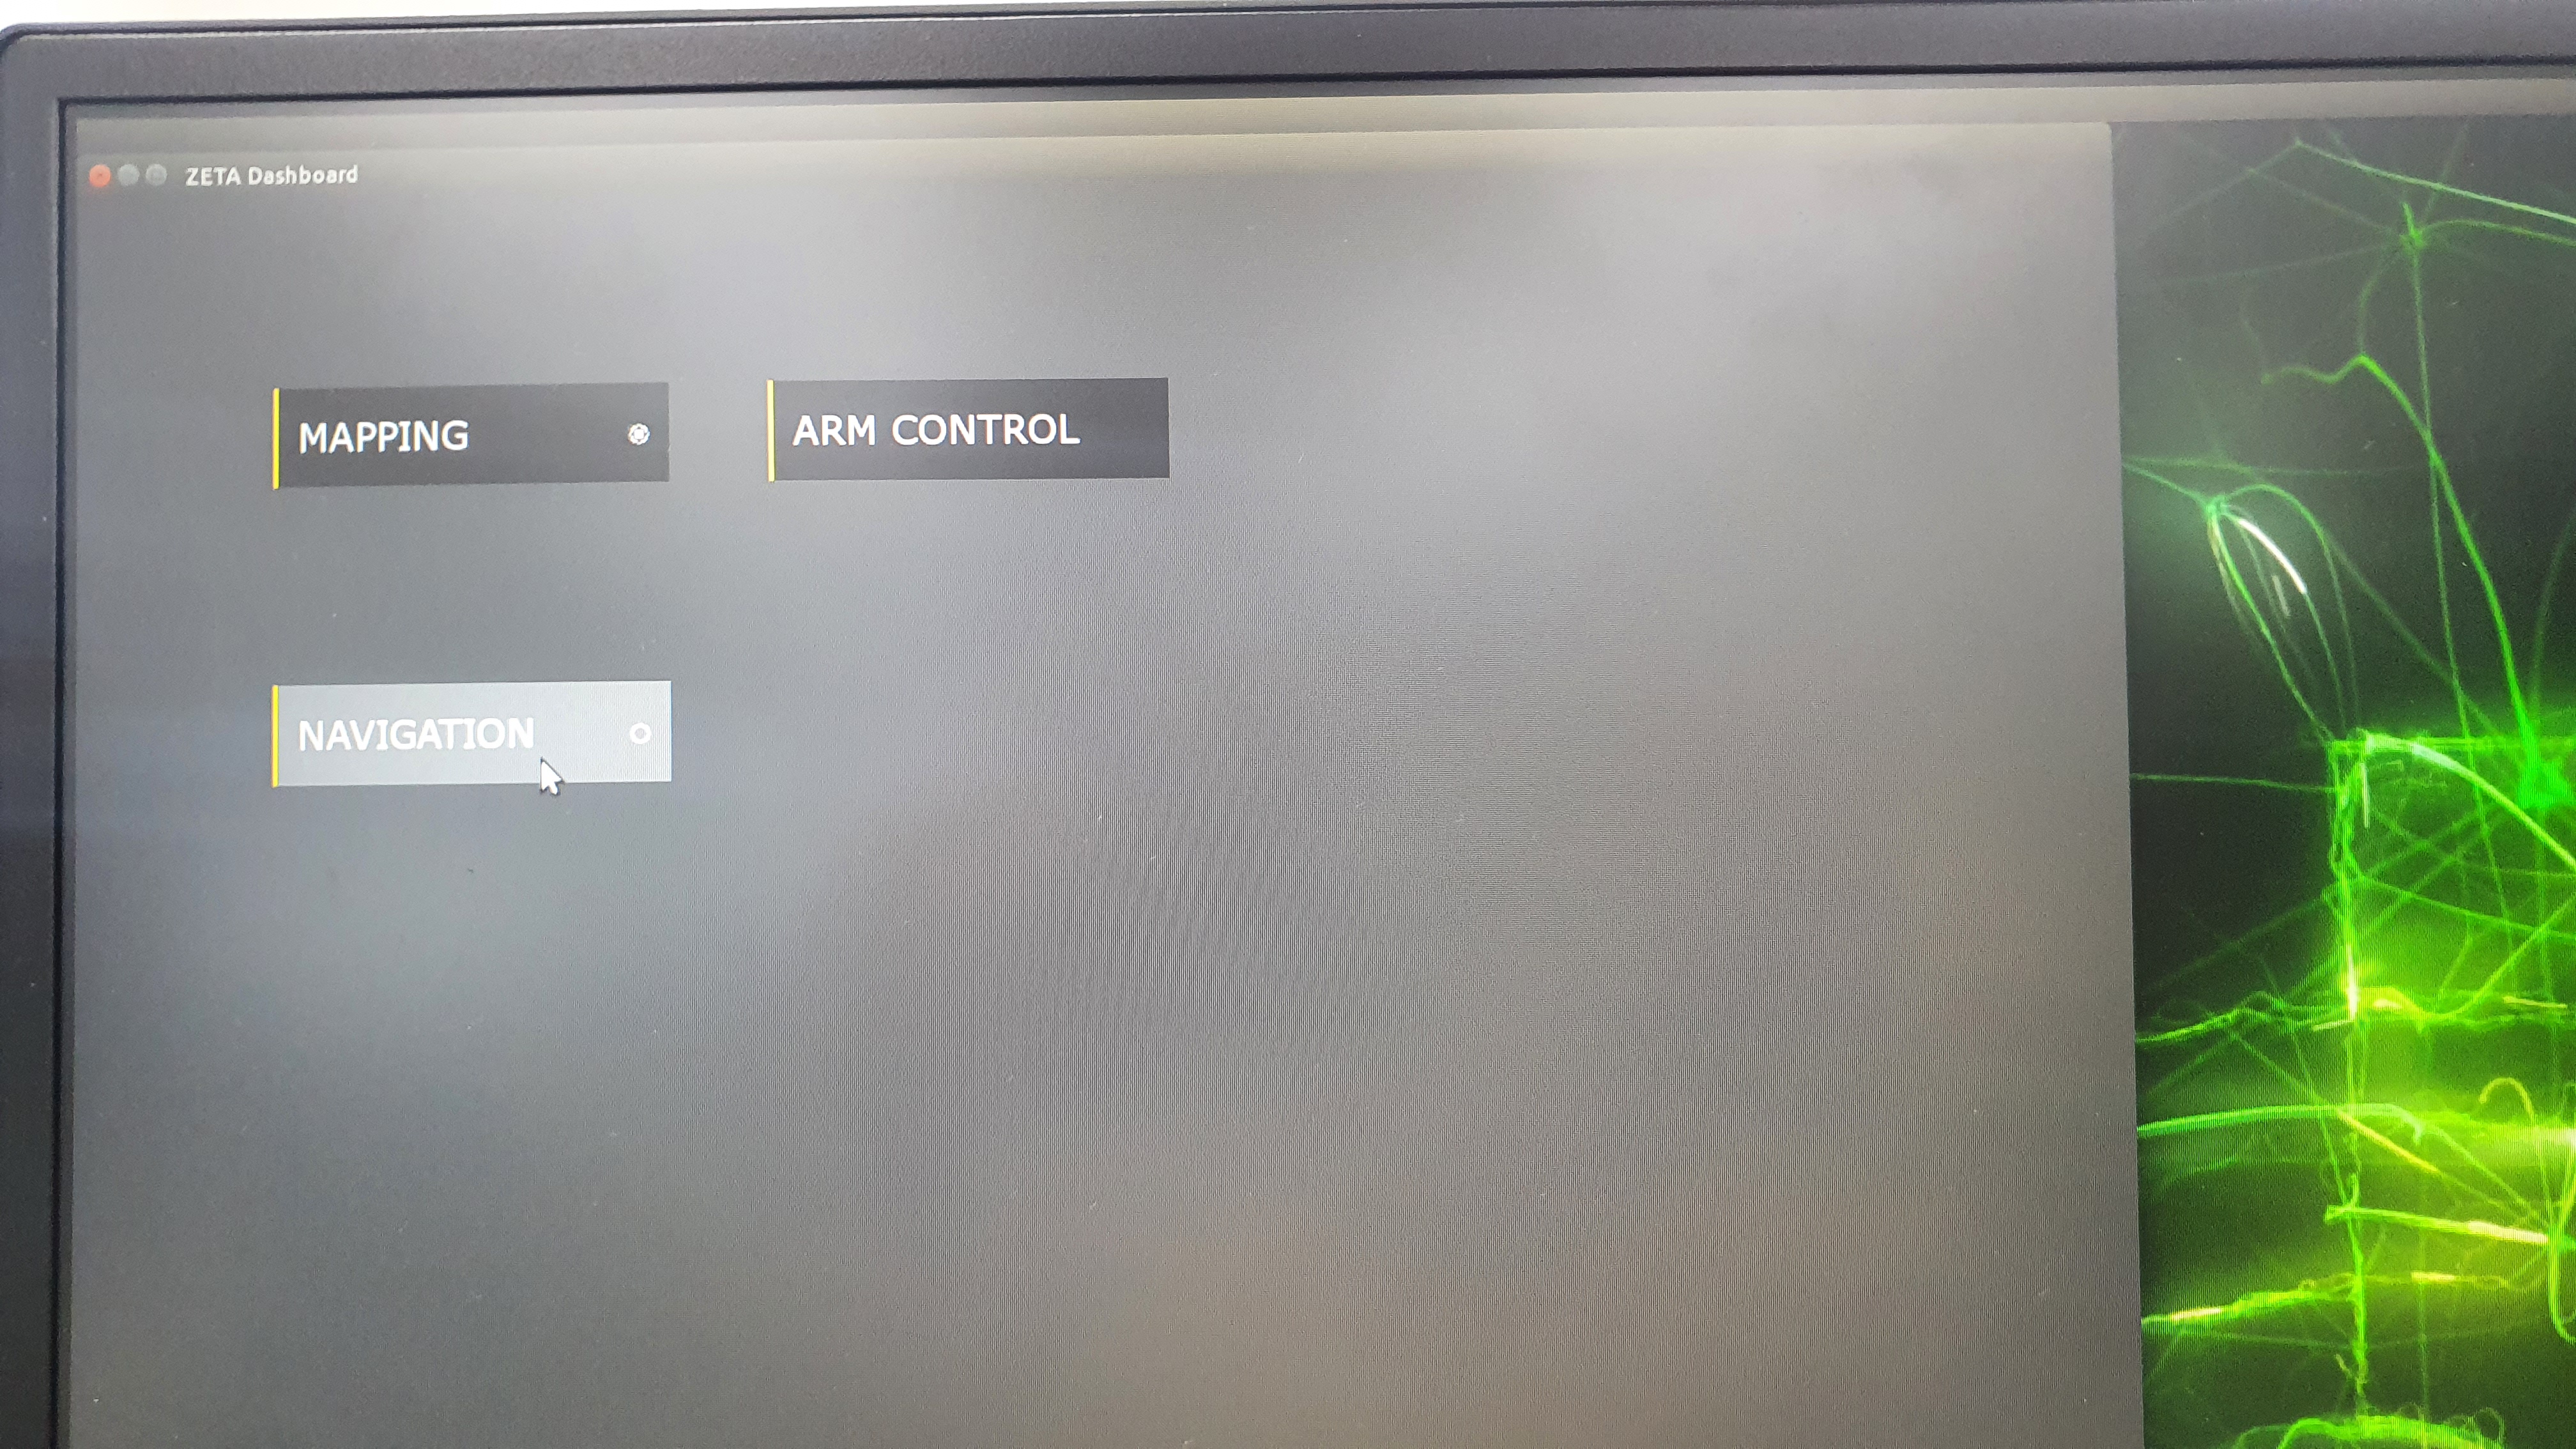
  2. Click the mapping button.

  3. Try mapping by moving the Zetabot. The part measured in red is the data measured by LIDAR. Black is the wall measured by LIDAR through the SLAM algorithm.

  4. Control the Zetabot joystick

    1. Power button

    2. When the joystick vibrates, it is a signal that the ZetaBot and the joystick are connected.

    3. Press the LB button and use the left joystick to handle and accelerate.

    4. Press the LT button and use the right joystick to rotate the Zetabot.


Navigation In-Action

  1. When mapping is finished, click the Navigation button.

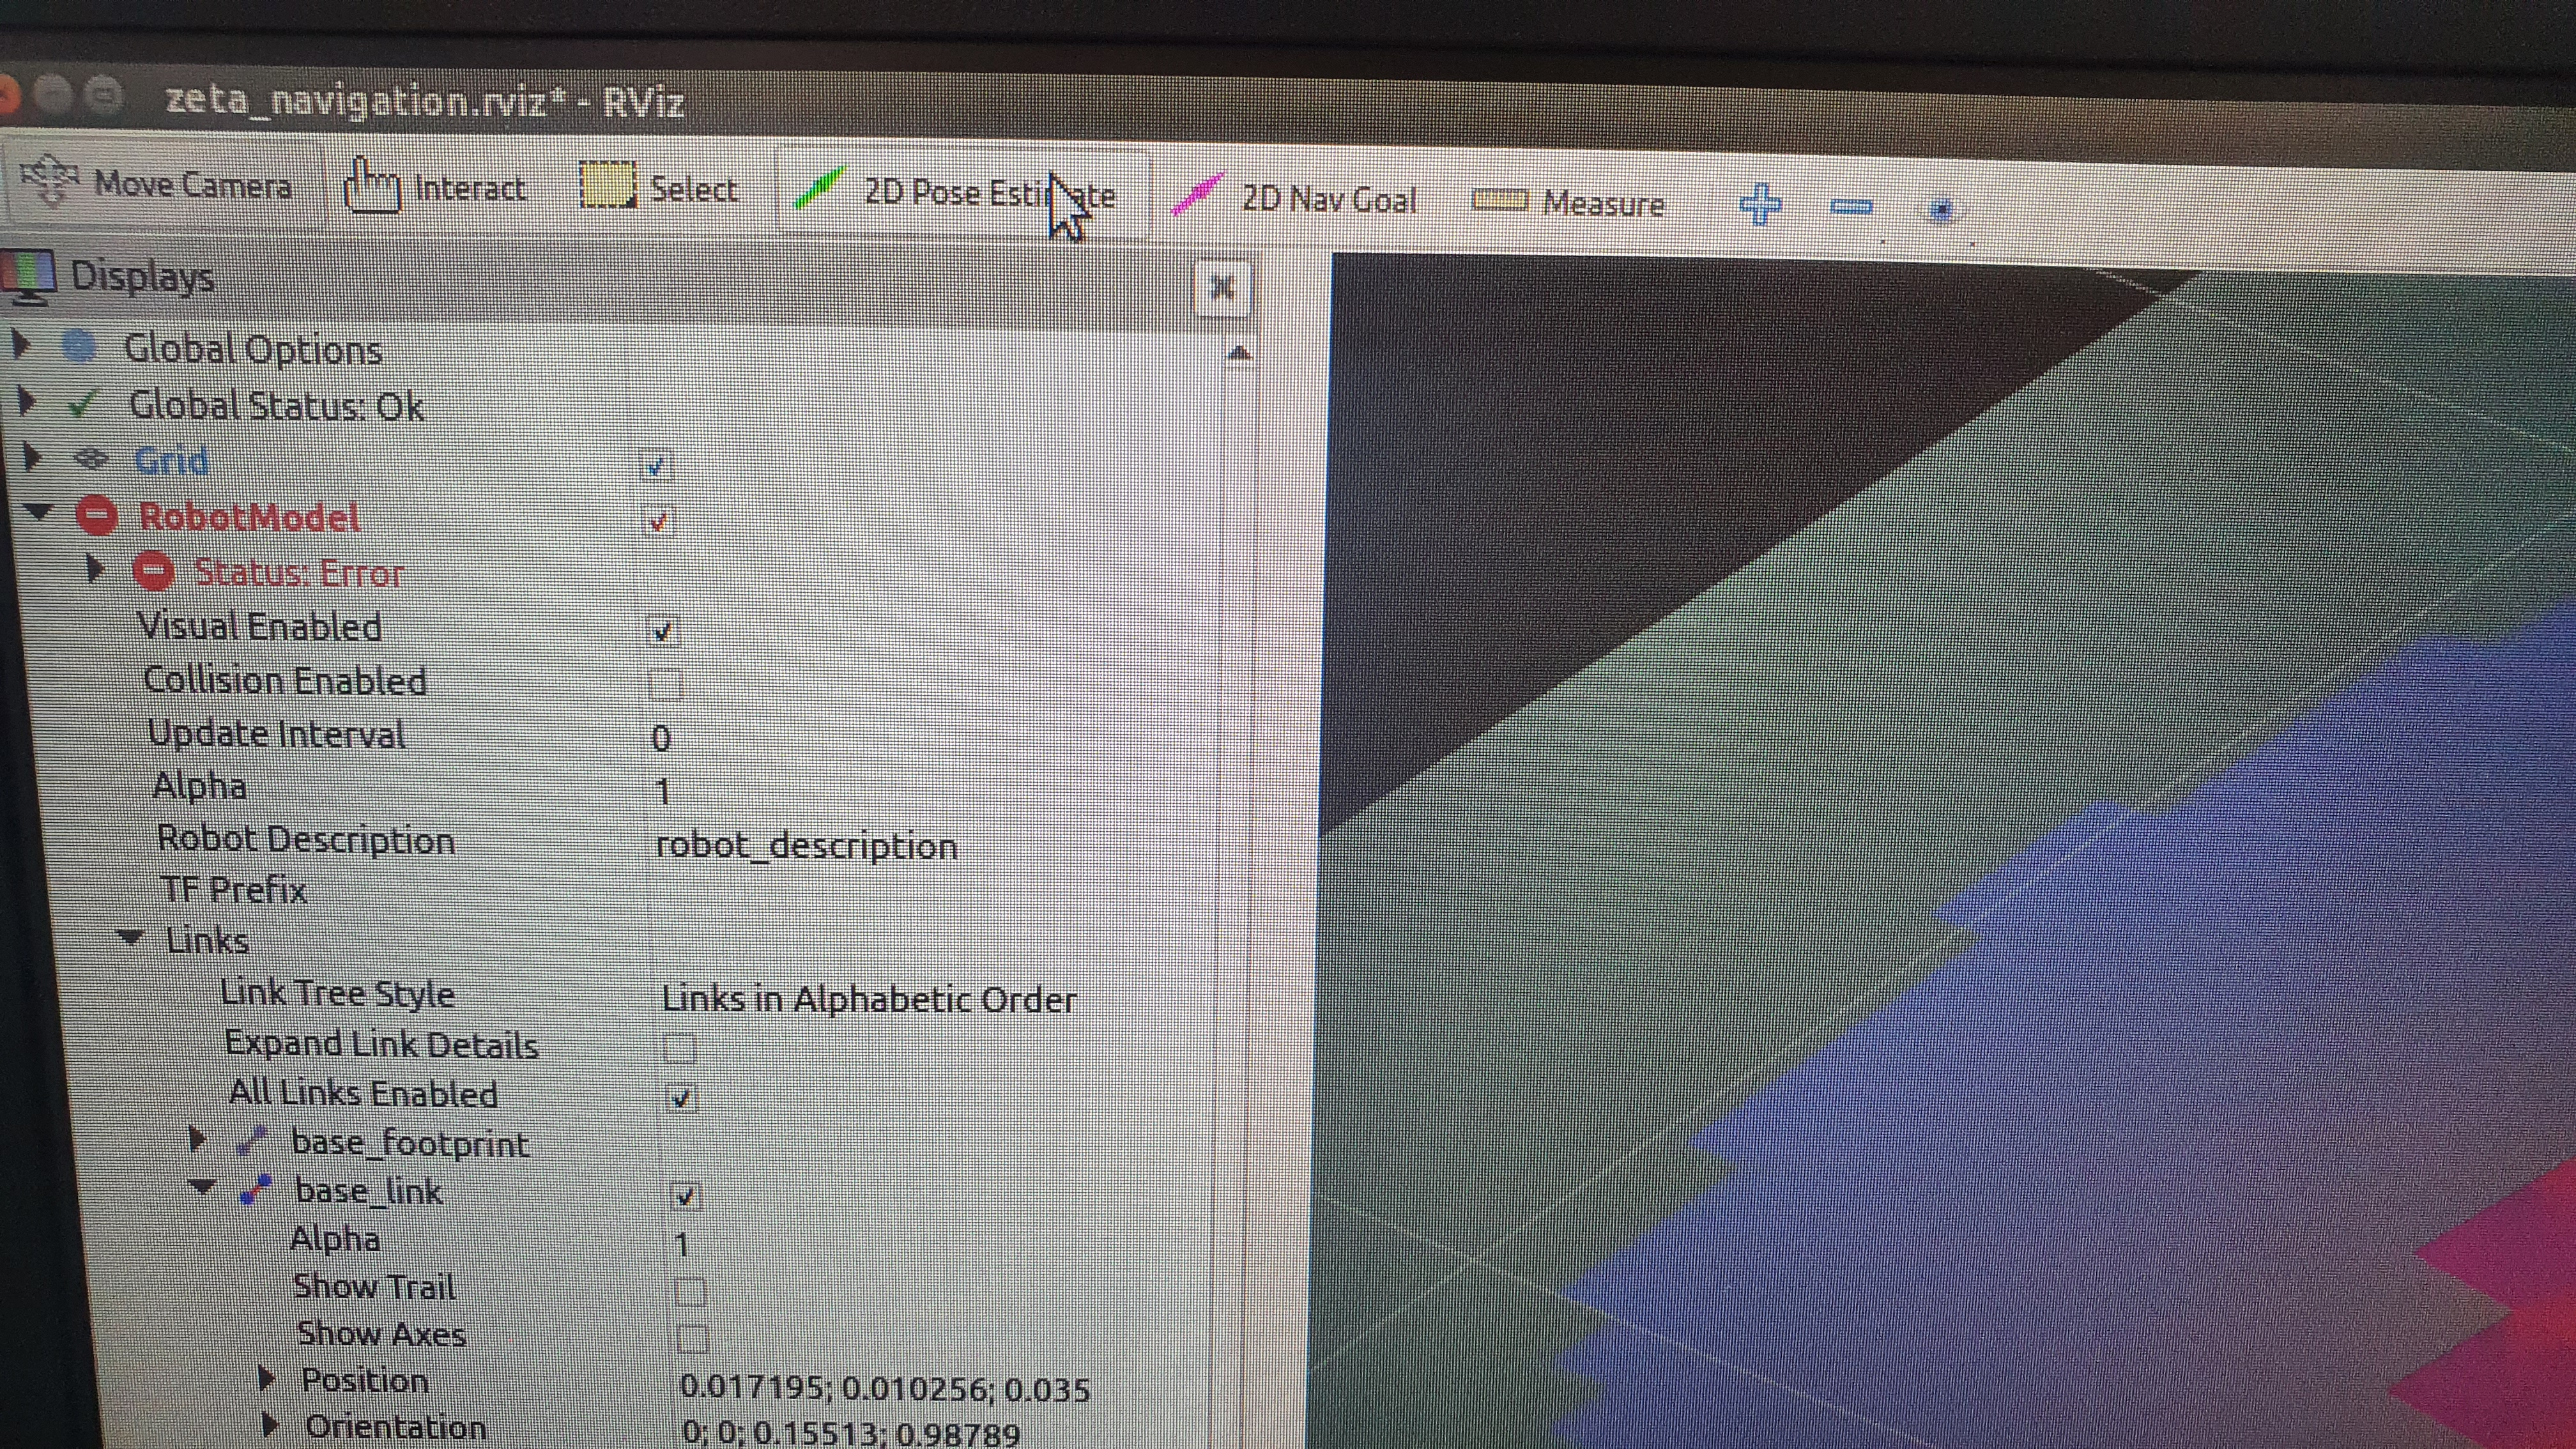
  2. Run localization with 2D Pose Estimate.

    During this stage, it is recommended for LIDAR to have measured the obstacles in green and map them to some extent.

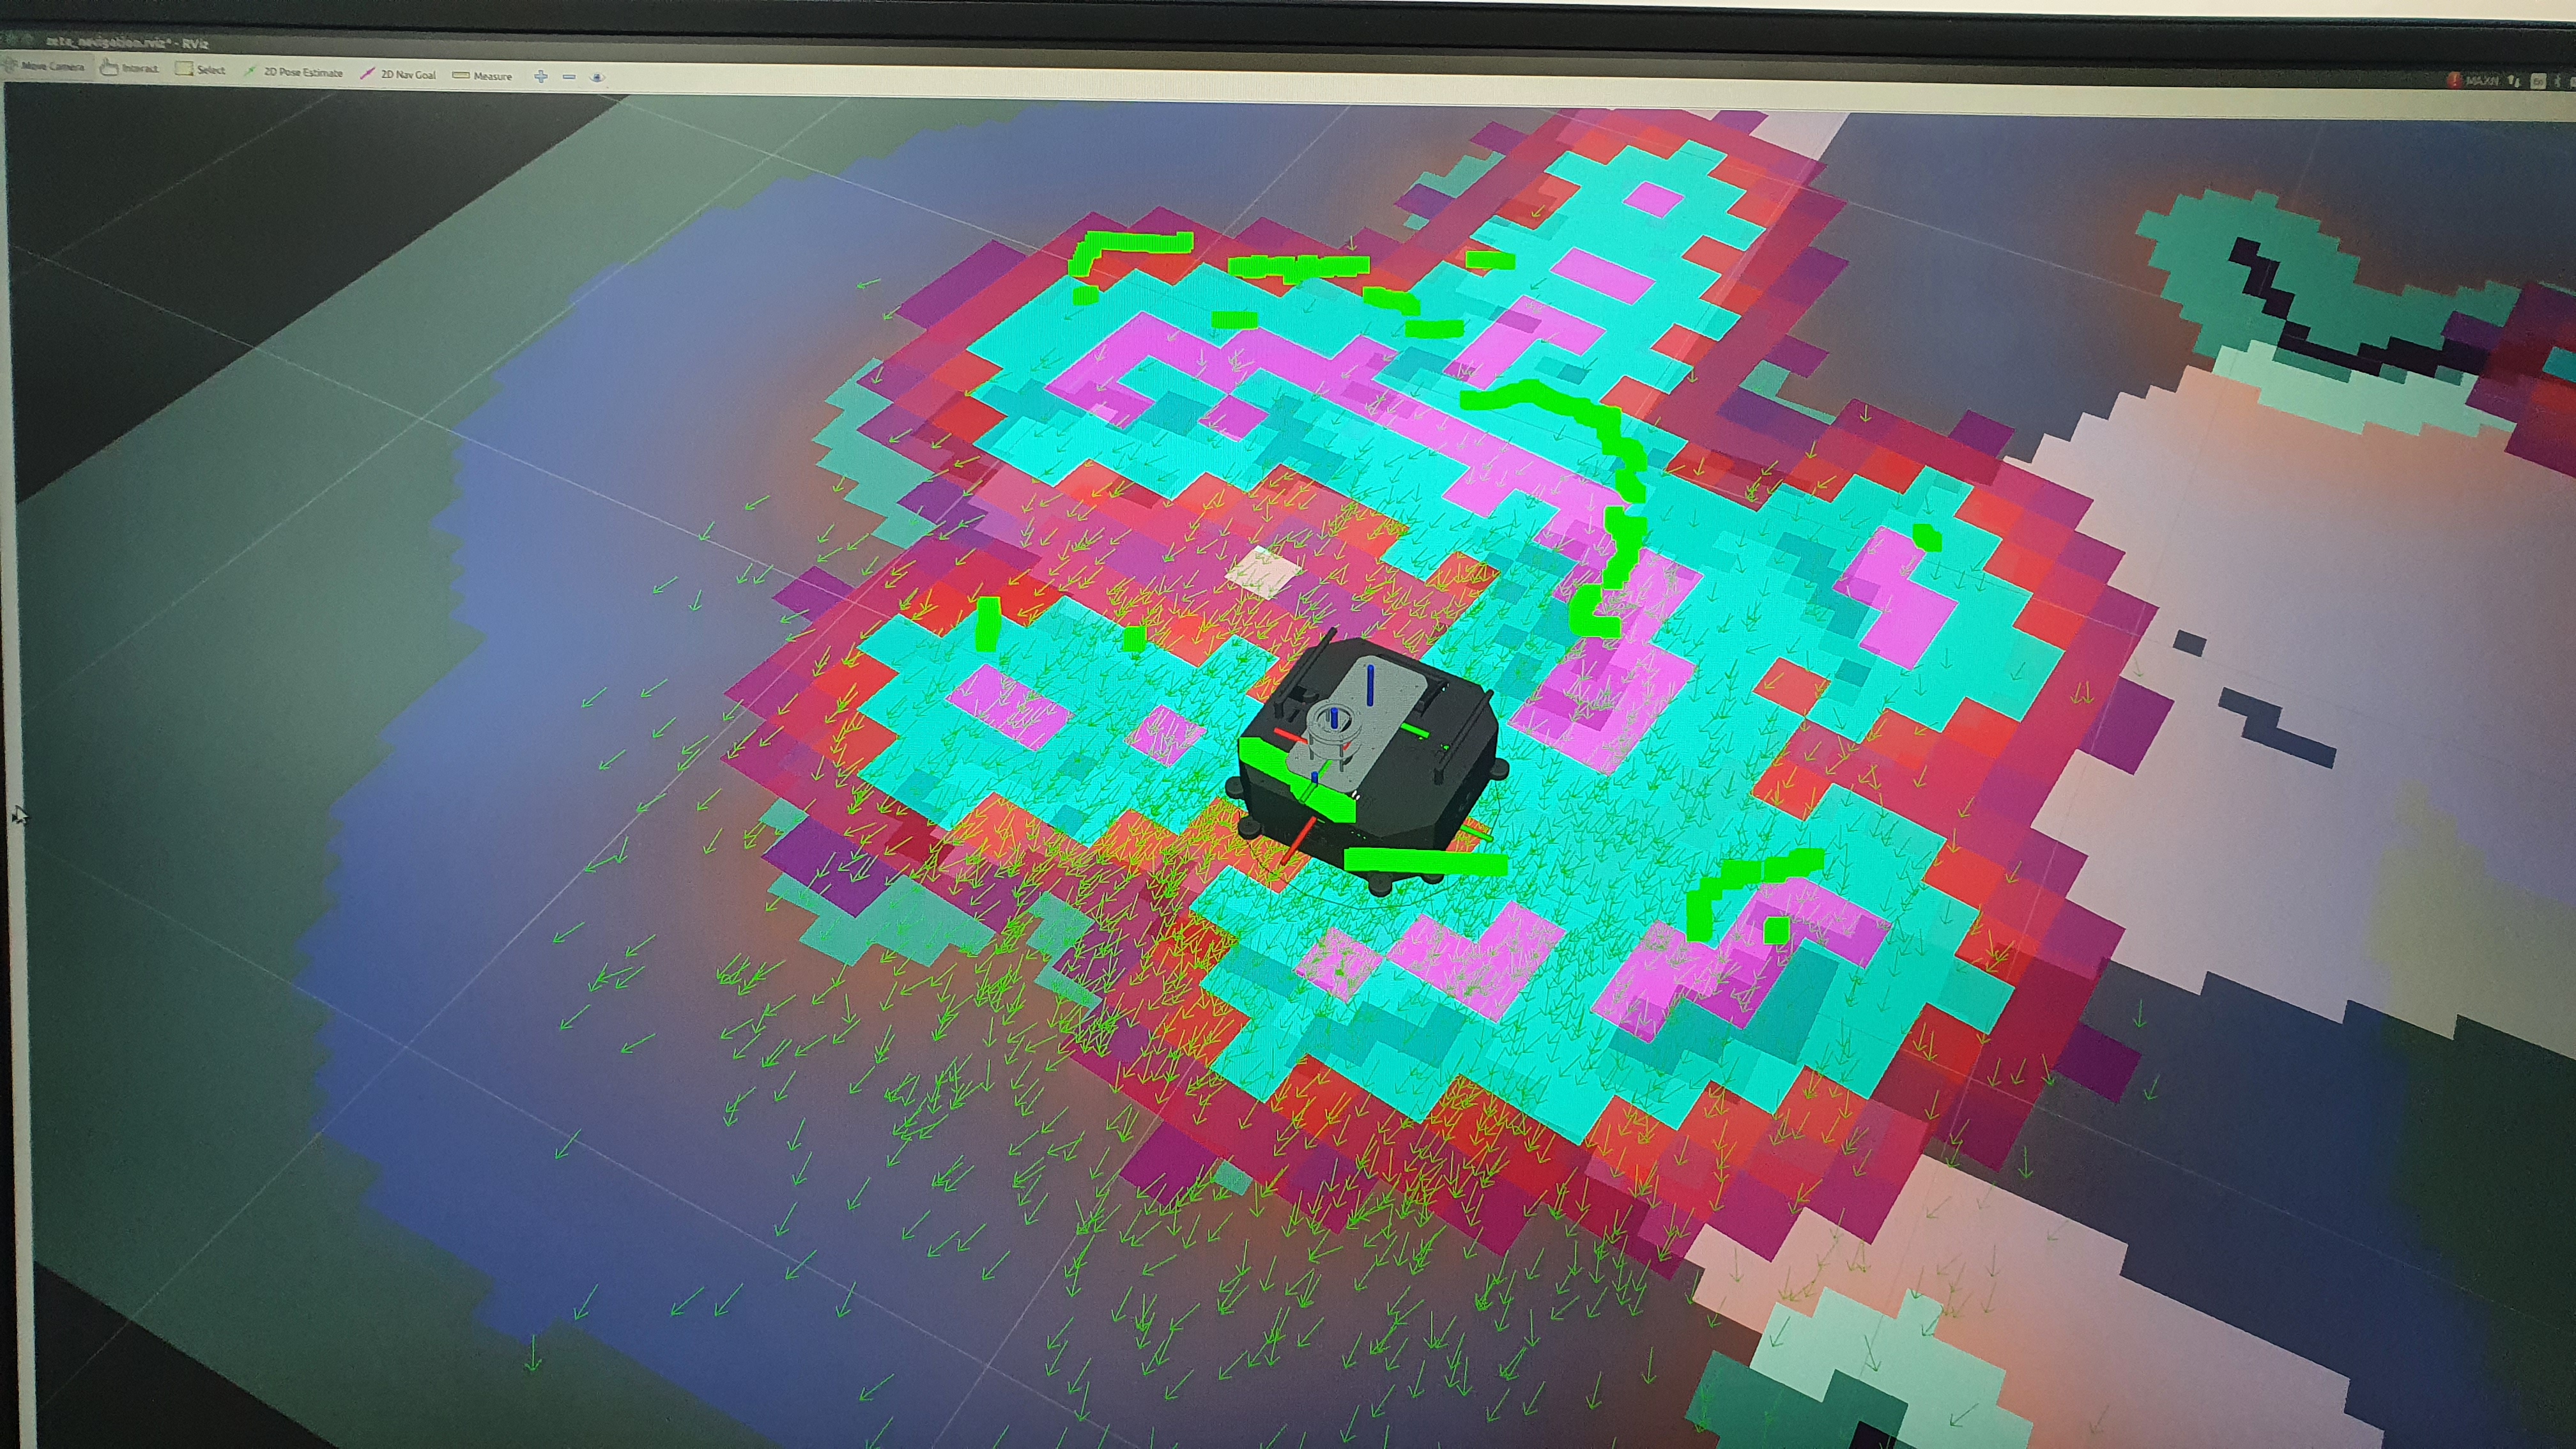
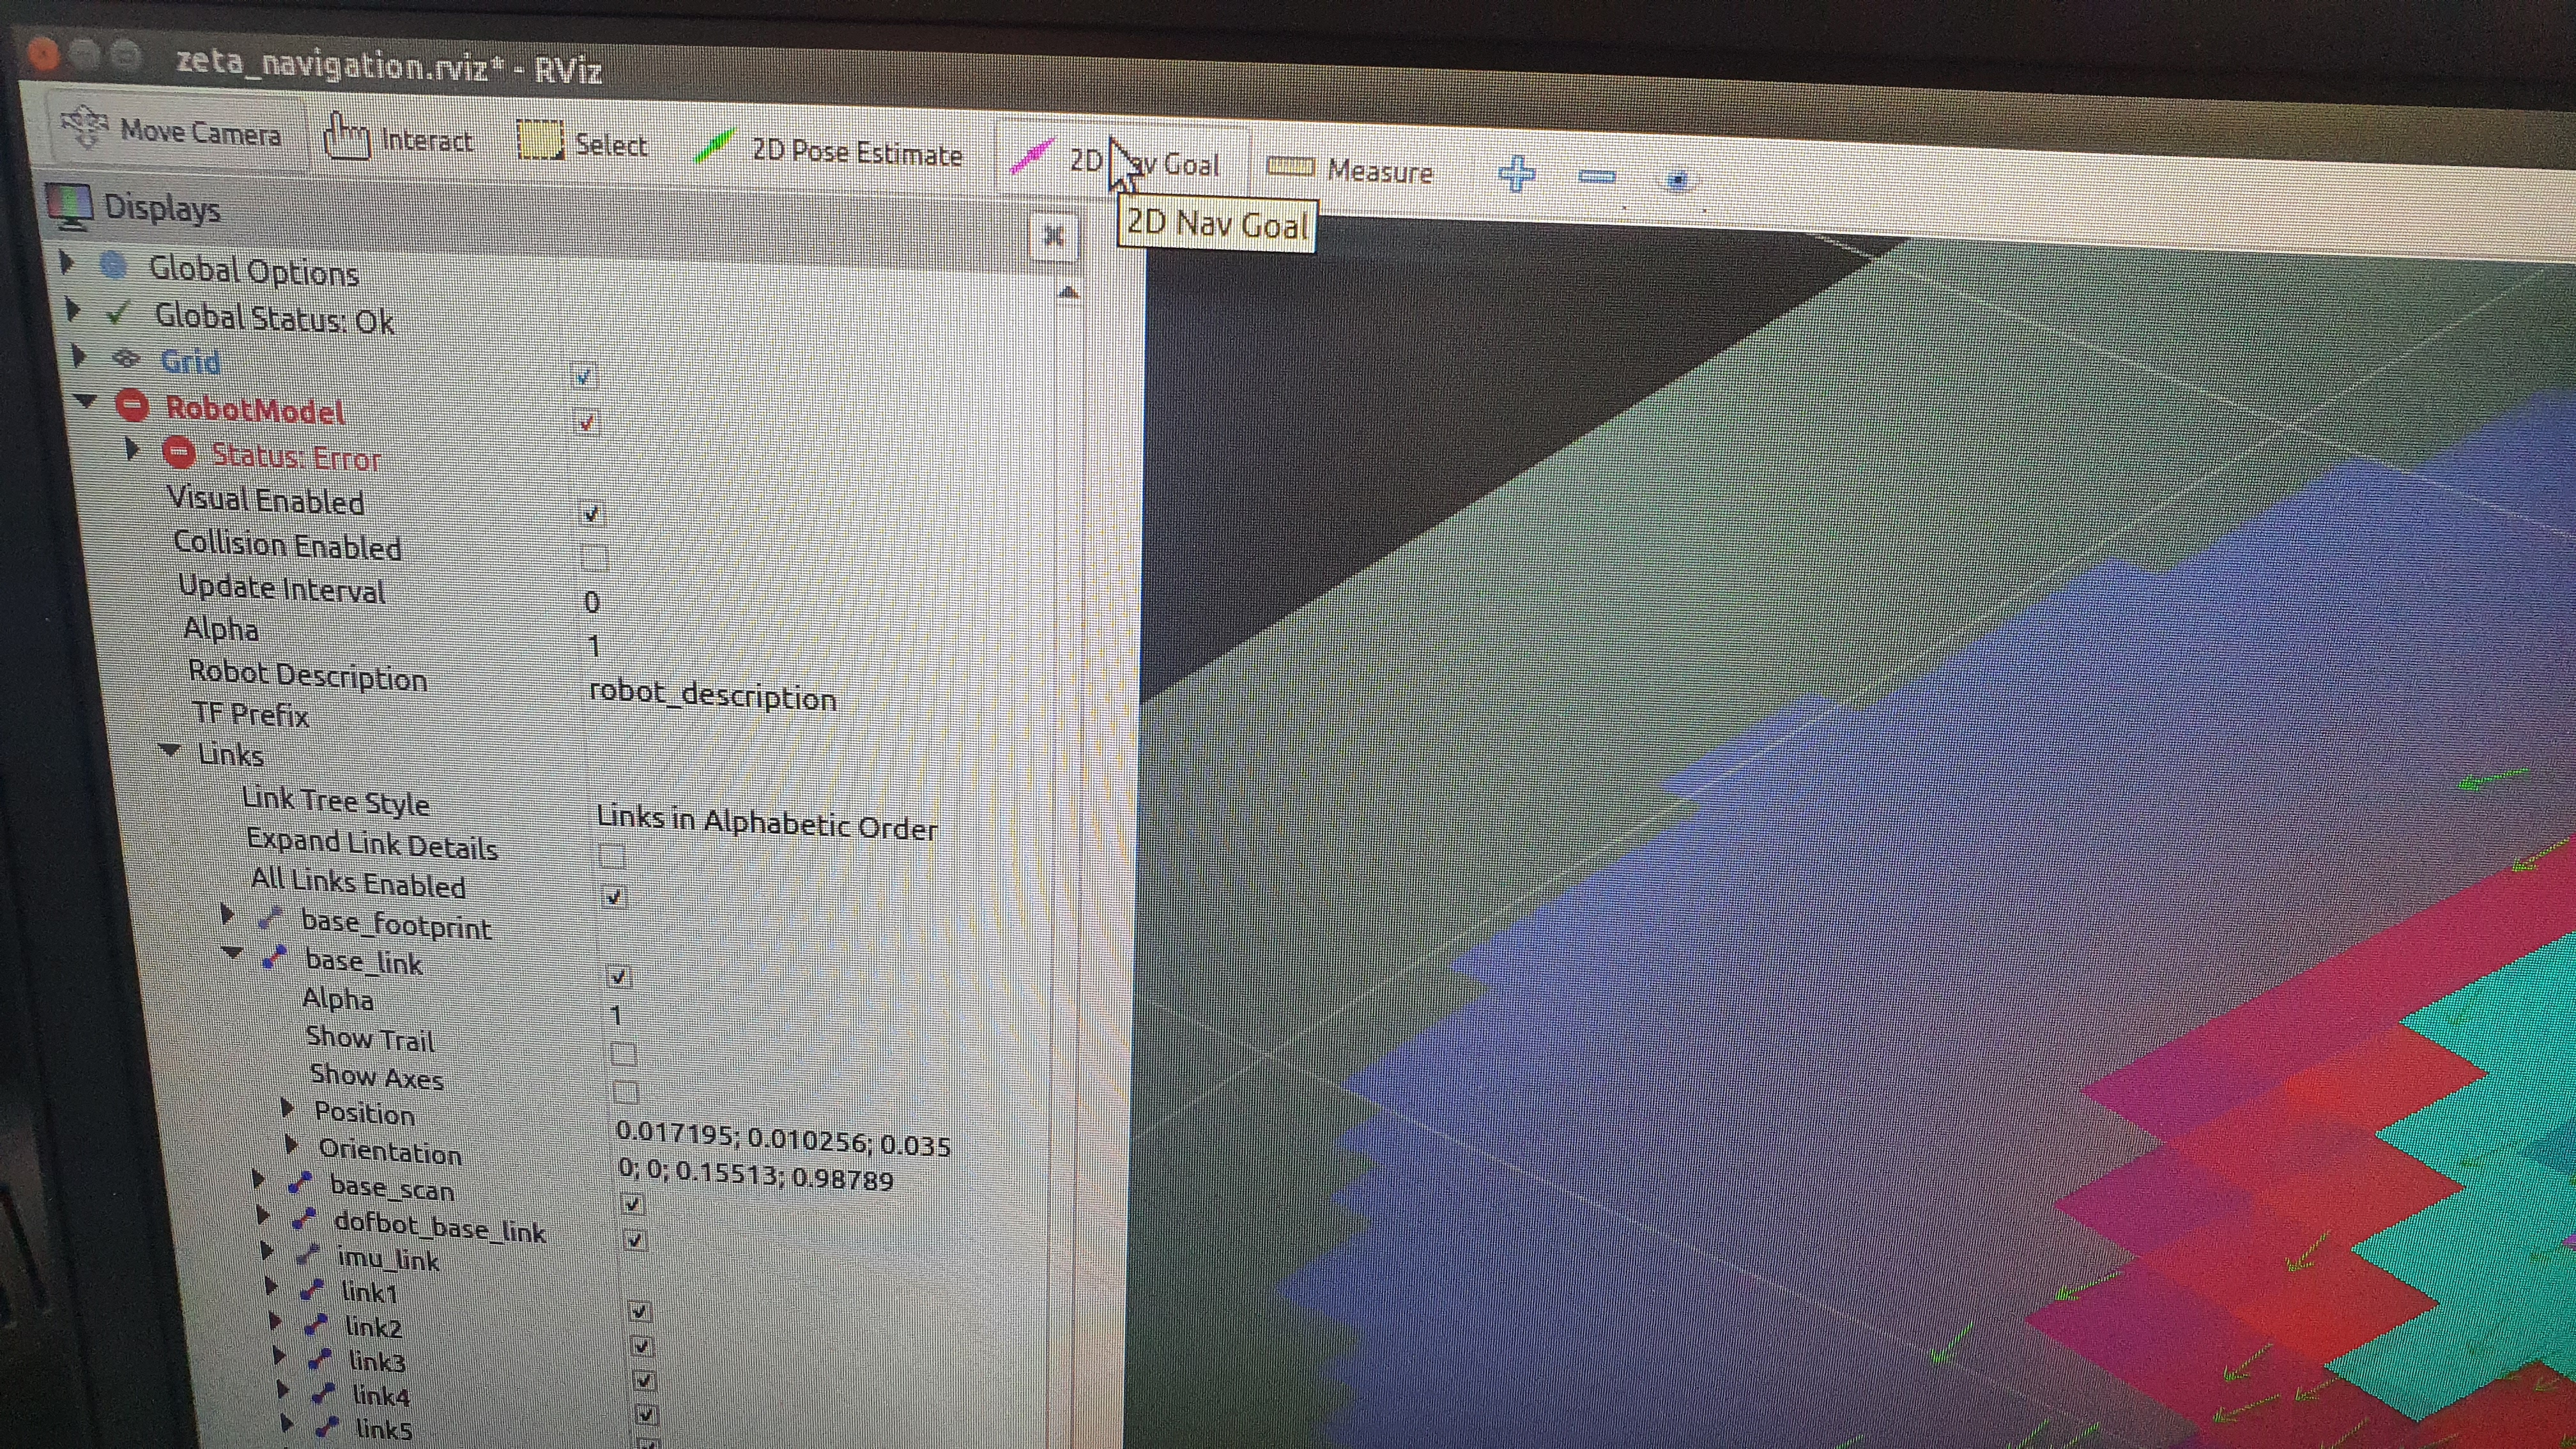
  3. If you click 2D Nav Goal to set the target, the settings for autonomous driving is set.

Previous Next

© Copyright . Revision a6028bd6.

Built with Sphinx using a theme provided by Read the Docs.